

BLAZING CONVENTION for the PAUMANOK PATH
A few years ago I was a member of a small group of intrepid hikers who had decided to walk the entire Paumanok Path. We lost the trail on numerous occasions, and accidentally bypassed sections. Sure we walked from Rocky Point to Montauk Point, but we didn’t actually walk The Path. I found this situation so disappointing, that I formed a resolve to correct it.
Like every other initiative I have taken on, this turned out to be a lot harder than I had imagined. I had to find the people who knew where the trail actually was and I had to learn the art/science of blazing. At first my blazing was horrible. I placed blazes too high, made them too large, had them facing off the trail, applied too many, used the wrong paint and brush, didn’t scrape the trees. In short, I made a lot of mistakes. I caught many of my mistakes when I would rewalk the trails I blazed and view my work critically. I found it particularly helpful to walk behind someone who was experiencing the trail for the first time and take note of the places that caused confusion.
A trail that can’t be followed is not a trail, and a path that is over-painted is ugly. We fought hard to preserve the land and design and cut the trails. I would like to encourage you to spend the extra time and energy necessary to blaze our recreational trails as effectively as possible. Treat this as an artistic endeavor not just a job that has to get done.
What follows is an attempt to incorporate what I have learned into a convention for blazing the Paumanok Path.
Dimensions and Placement of Blazes
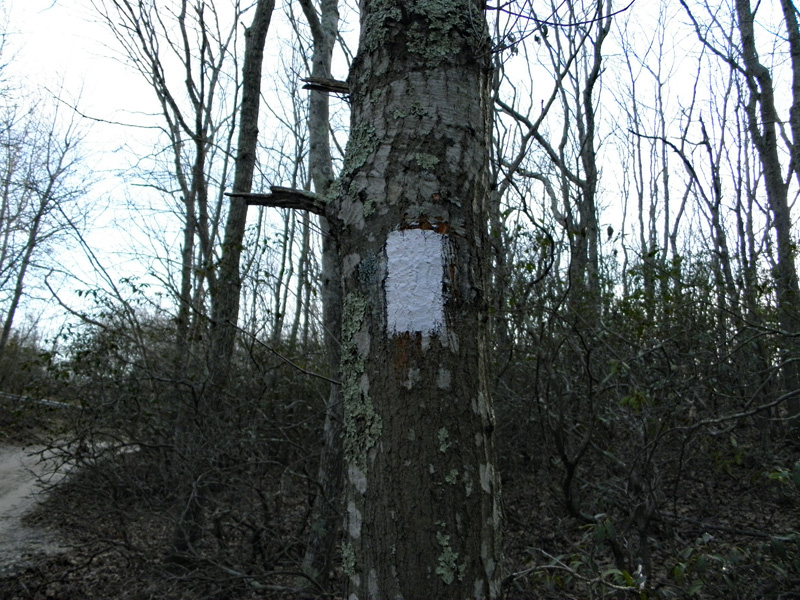
2” X 6” rectangle (Appalachian Trail standard).
Height Above Ground: Approximately eye level (level can be modified in hilly terrain or dense vegetation for better visibility.)
– On an ascending trail, paint your blaze lower on the tree. From the bottom of a hill it will appear higher up. If the trail is descending, paint the blaze higher up on the tree, this will bring the blaze to eye level.
Placement of Blazes: Right side of path in both directions, 100 yards apart, closer on new or ambiguous trail segments. If you blaze on both sides of the trail, the hiker has to look everywhere for the blazes. This is stressful and invariably leads to the missing of important blazes. When you arrive at a “fork” in the trails, knowing that the path is always to the left of the blaze makes the choice of the correct trail unambiguous. Always place a reassuring blaze a short distance after a turn or after crossing another path.
Paumanok Path logo markers should be placed at road crossings. As you approach a crossing or convergence of paths a Paumanok Path Marker and / or blaze should be sharply visible and draw the hiker in the direction of the path. Markers should be installed with two-2” aluminum nails, top and bottom. Because aluminum is soft it will do less damage to chain saws. Leave an inch between the head of the nail and the tree, to allow for the plant’s growth.
-Blaze trees that you can see from a distance. This will enable you to apply fewer blazes and thus be responsible for less negative visual impact on the trail. If a blaze is visible over a distance then there is also a better chance that when hikers glance up from watching their feet they will see it.
-Look for a live tree that can be seen at a distance.
-A large tree is preferable to a small one.
– Remove foliage that obscures the blaze. Blazing is best done when the foliage is on the trees and bushes. This will save you from having to cut away branches that unexpectedly fill out in the summer and obscure them.
– Place your blaze so that it appears centered as you approach it from a medium distance on the trail.
– If there are blazes indicating that other trails use the path, they should be distinct and separate from the Paumanok Path’s white 2”X6” rectangles. It is important that we use a single convention for blazing The Path along its entire length. This will minimize confusion for a hiker new to the trail.
Posts can be used for blazing treeless areas and discouraging inappropriate access.
The trailhead and finish are marked with a pattern of three standard blazes. Trailhead (Rocky Point DEC parking lot) is marked by two standard blazes side by side with a third blaze 2” above and midway between the first two. The finish of the trail is two standard blazes side by side with a third blaze 2” below and midway between the first two. An access trail to the Paumanok Path should have yellow blazes.
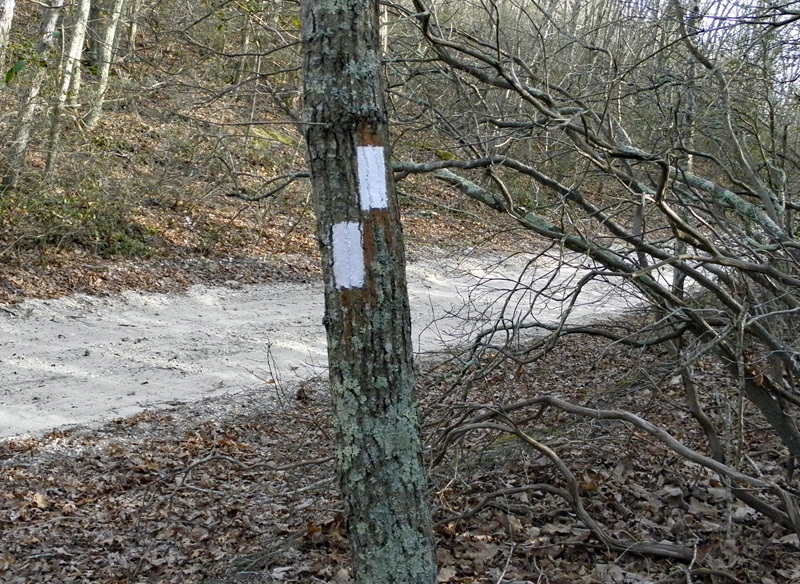
Blazing Turns
Two blazes one on top of the other. The top blaze offset in the direction of the turn.
Where there are no other intersecting trails and the direction of the trail tread is obvious, instead of using a turn blaze, paint a second reassuring blaze after the turn.
– At turns, blaze before, not beyond, the turning point.
Application of Blazes
Scrape a flat fairly smooth surface the size of the blaze. Use a wire brush or paint scraper. DO NOT SCRAPE THROUGH THE BARK. I suggest you use a plastic squeeze bottle (shampoo, plastic ketchup bottle, etc), you can apply exactly the amount of paint needed to the brush without any splash or drip. Make the edges of the blazes sharp and neat. The use of latex paint is suggested. Even though latex is less durable than oil base paint, a trail is dynamic in nature. There are many reasons why a section of trail may be relocated: to control erosion, to protect sensitive ecology, to improve the esthetic value of the trail, and most important, to address safety issues. Latex paint is easier to modify and remove than oil based paint. Also, if you catch a mistake soon enough, a wet rag will remove latex paint, and clean up is much easier than with oil based paint.
When refreshing the blazing on a trail don’t simply repaint old blazes, reevaluate the work previously done and see if you can improve on it. Work to achieve a balance between keeping hikers from getting lost and protecting the natural beauty of the trail.
Add and subtract blazes as the need arises. To remove a blaze: GENTLY use a paint scraper and wire brush. If the blaze persists, a blending of different shades of brown and gray paint can be used to cover it.
Blaze in one direction at a time. The blazing should complement the flow of the trail. You can’t experience this flow in both directions at once.
It is helpful to have two people working together when you blaze, because a person walking ahead can easily discern whether a tree is appropriately close to the trail and the person behind can direct the lead person to the optimal placement of the blaze for visibility.
When you finish blazing a trail test it out with someone who doesn’t know the trail. Let them lead you along the trail you just blazed. If you are patient, courteous to the “test hiker” and honest with yourself, this is the best way to improve the effectiveness of your blazing. It may be expedient to blame the people who can’t follow your blazing for being inattentive or stupid, but don’t forget that these are the people you are marking the trail for.
The manner in which a trail is marked will have a great impact on the “feel” of the path and the experience of the users.
SUGGESTED EQUIPMENT
-A canvas bag or other easy to carry open receptacle
-White paint in a plastic squeeze container
-1½” paintbrush (reduce bristle length with scissors, stiff bristles gives better control for sharper lines)
-2½” Paint Scraper
-Plastic bags for wet rags and brushes. A wet rag around the bristles will save the paintbrush until you can get home and wash it.
-Rags and extra water
-Pruning shears
-Paumanok Path logo markers, 2” aluminum nails and a hammer.
-Spray paint: brown, gray, and green to disguise inappropriate blazes.